
Need to setup a dedicated Minecraft server for you and a friend?
Have a Raspberry Pi 4gb model hanging around?
This tutorial is for you!
The following is a quick write up of how to get a basic Minecraft server up and running on your RPI 4. We will use Spigot as our server core because it’s a highly optimized version of the Minecraft server files- it also allows you to add in some plugins as well! (drop your server plugins into the Plugins folder once you’ve got your server up and running)
How does it run on the little Pi? You’d be surprised, the world generation is fast and the server rarely misses ticks, you should be able to play with two to three people without issue. Adding plugins will impact performance but the RPI 4 seems to be more than capable to serve as a MC server.
This tutorial will assume you’re familiar with how to flash an OS onto your SD card. We will download and flash Ubuntu server 64 bit, update the OS, overclock your Pi to 2GHz (optional), download needed software, then download and run the server software.
Let’s get started! First we’ll download the Ubuntu 64-bit server image from here.
After flashing your image boot your device and wait for all of the first boot text to scroll past. After you get to a login prompt the default login and password are both ‘ubuntu’.
After first login you’ll be prompted to change the password to something of your choosing. Once complete you’ll see the Pi’s IP address. In our instance its 192.168.0.197. If you don’t see it run ifconfig to locate.
With your Pi’s IP in hand you can pop back into Windows or Mac OS for the next steps as we don’t need physical access to the Pi any longer.
On Windows you’ll open up PowerShell to SSH into your Pi and on Mac OS you can open a terminal window.
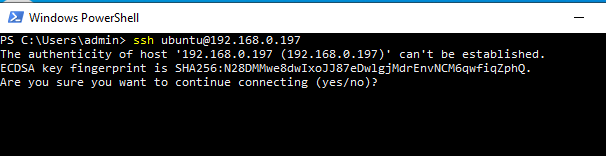
Enter in the following to ssh into your Pi: ssh ubuntu@youripaddress
You may be warned that the authenticity can’t be validated type yes to continue forward.
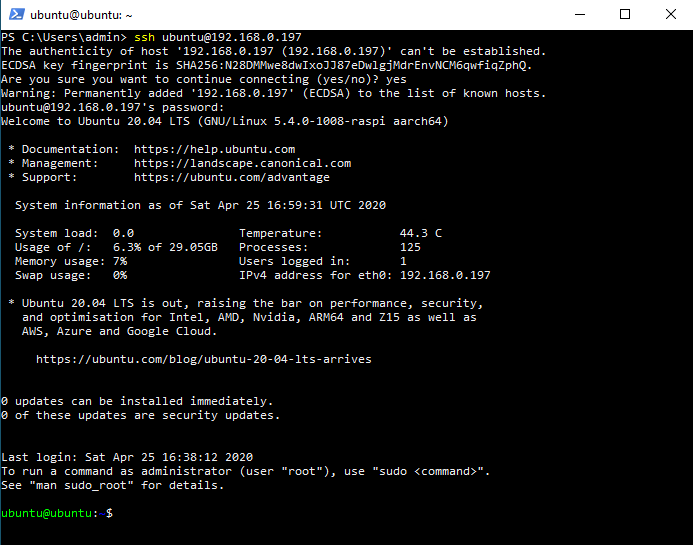
You’ll then be prompted for your password, input the password you created upon first boot.
Once you see the ubuntu@ubuntu you’re ready to go!
Let’s get cooking!
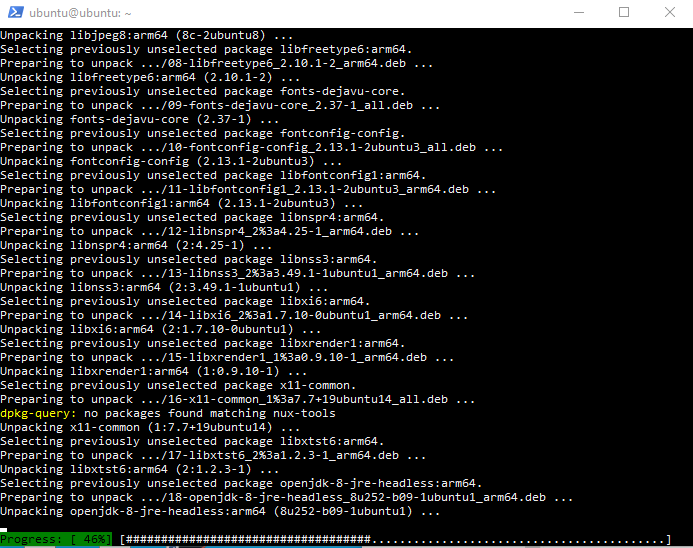
First let’s run a command to update all of our packages within our installation
sudo apt-get update
sudo apt-get upgrade -y
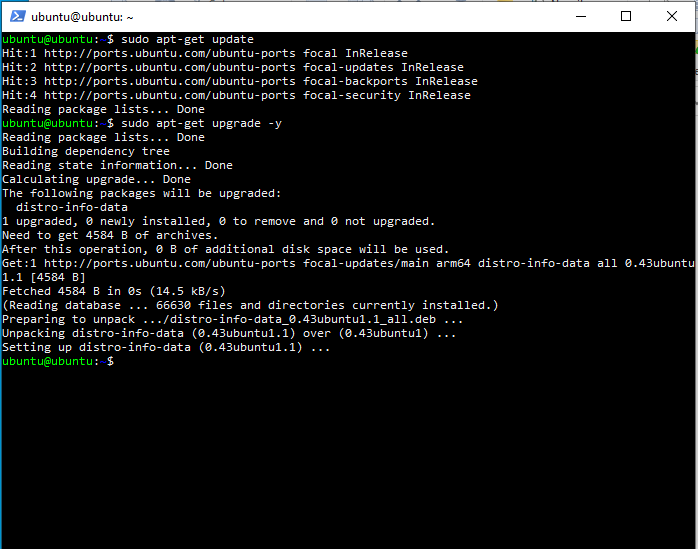
The upgrade command may take time depending on how many packages need to be updated.
This step is optional, but I’ve got a big heatsink case on my Pi and I want to extract all the power I can so I’ll configure a small overclock to the Pi.
sudo nano /boot/firmware/usercfg.txt
after the header add in the following lines
over_voltage=6
arm_freq=2000
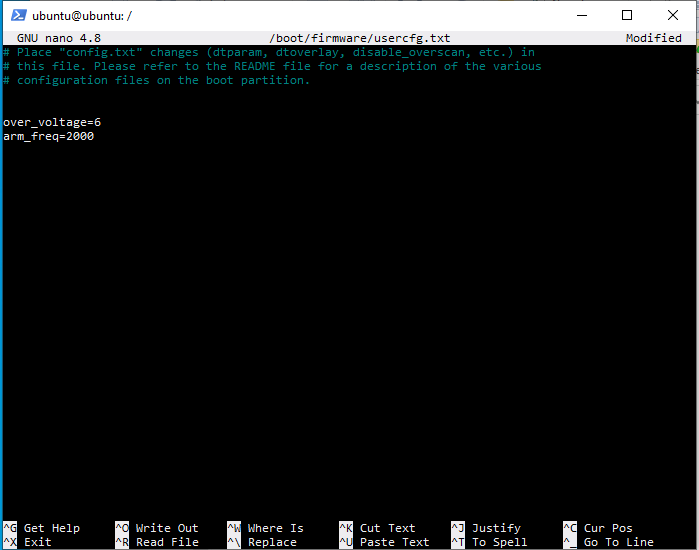
press CTRL +x to save hit ‘y’ to save changes, then enter to write the changes.
Let’s reboot the Pi now- sudo reboot (you’ll lose connection via SSH and need to reestablish the connection after a minute or so to let the Pi reboot.
Once logged in we will need to install java so we can run the server jar files.
Install Java by entering sudo apt install default-jdk
Installing Java will take a few moments
Once the install is complete we’re ready to download the latest Spigot and get rolling.
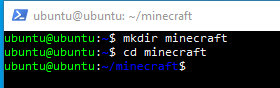
Let’s create a directory for all of our files to be located. At the terminal type in mkdir minecraft
Next type in cd minecraft to enter the minecraft directory, you should see the terminal change to reflect what directory you’re located.
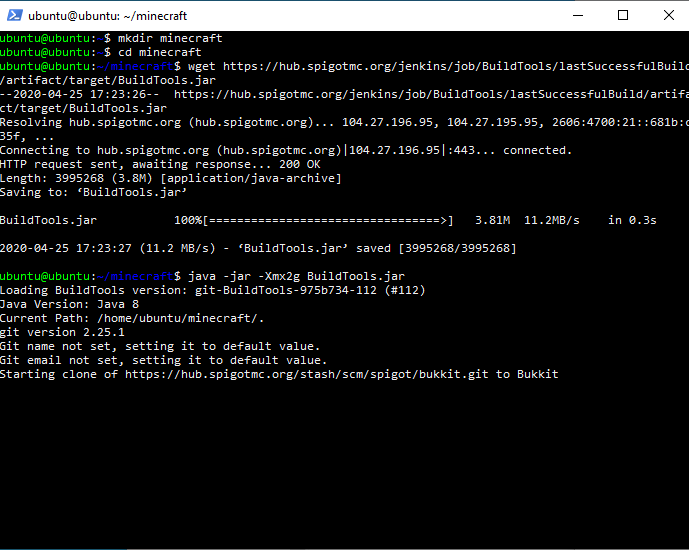
We will now download the Spigot jar.
Enter wget https://hub.spigotmc.org/jenkins/job/BuildTools/lastSuccessfulBuild/artifact/target/BuildTools.jar
In Windows PowerShell you can right click in the terminal to paste the above URL, in Mac OS you can paste as usual.
Next let’s run the BuildTools.Jar- this process will take several minutes to download then patch the Vanilla Minecraft server jar file.
java -jar -Xmx2g BuildTools.jar
-Grab a cup of coffee while your Pi does it’s thing…This will take several minutes
Okay we’re done!

Let’s get this server started!!!
To first boot your server type in java -jar -Xmx3500m -Xms1024m spigot-1.15.2.jar (depending on when you set this up the version of Spigot may have changed- running LS in your minecraft directory will list all of your files- run the spigot-1.xx.x.jar file that’s appropriate for you)
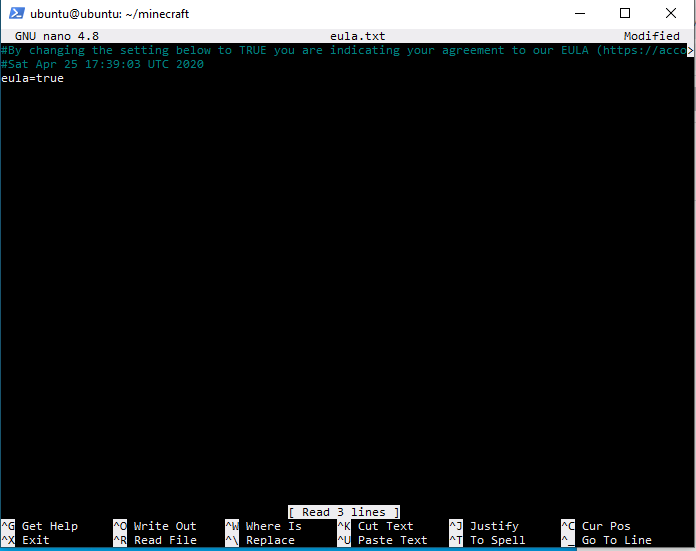
At first launch you’ll get an error saying that eula.txt failed to load and we need to agree to it. No problem- type in sudo nano eula.txt

In the nano editor change eula=false to reflect eula=true then press CTRL+X and Y to save.
With our eula file updated we’re ready to run the server for the first time- at the terminal press the up key on your keyboard to pre-fill commands already executed instead of typing them all out again.
Let’s execute java -jar -Xmx3500m -Xms1024m spigot-1.15.2.jar again. This time the output will be much different as the server builds the map during this launch. It will take a minute or two as the world builds, your subsequent launches won’t take this long.
Let’s connect an play on your new server!
Launch your Minecraft game on one of your computers and connect to the IP address of your Pi- ours was 192.168.0.197
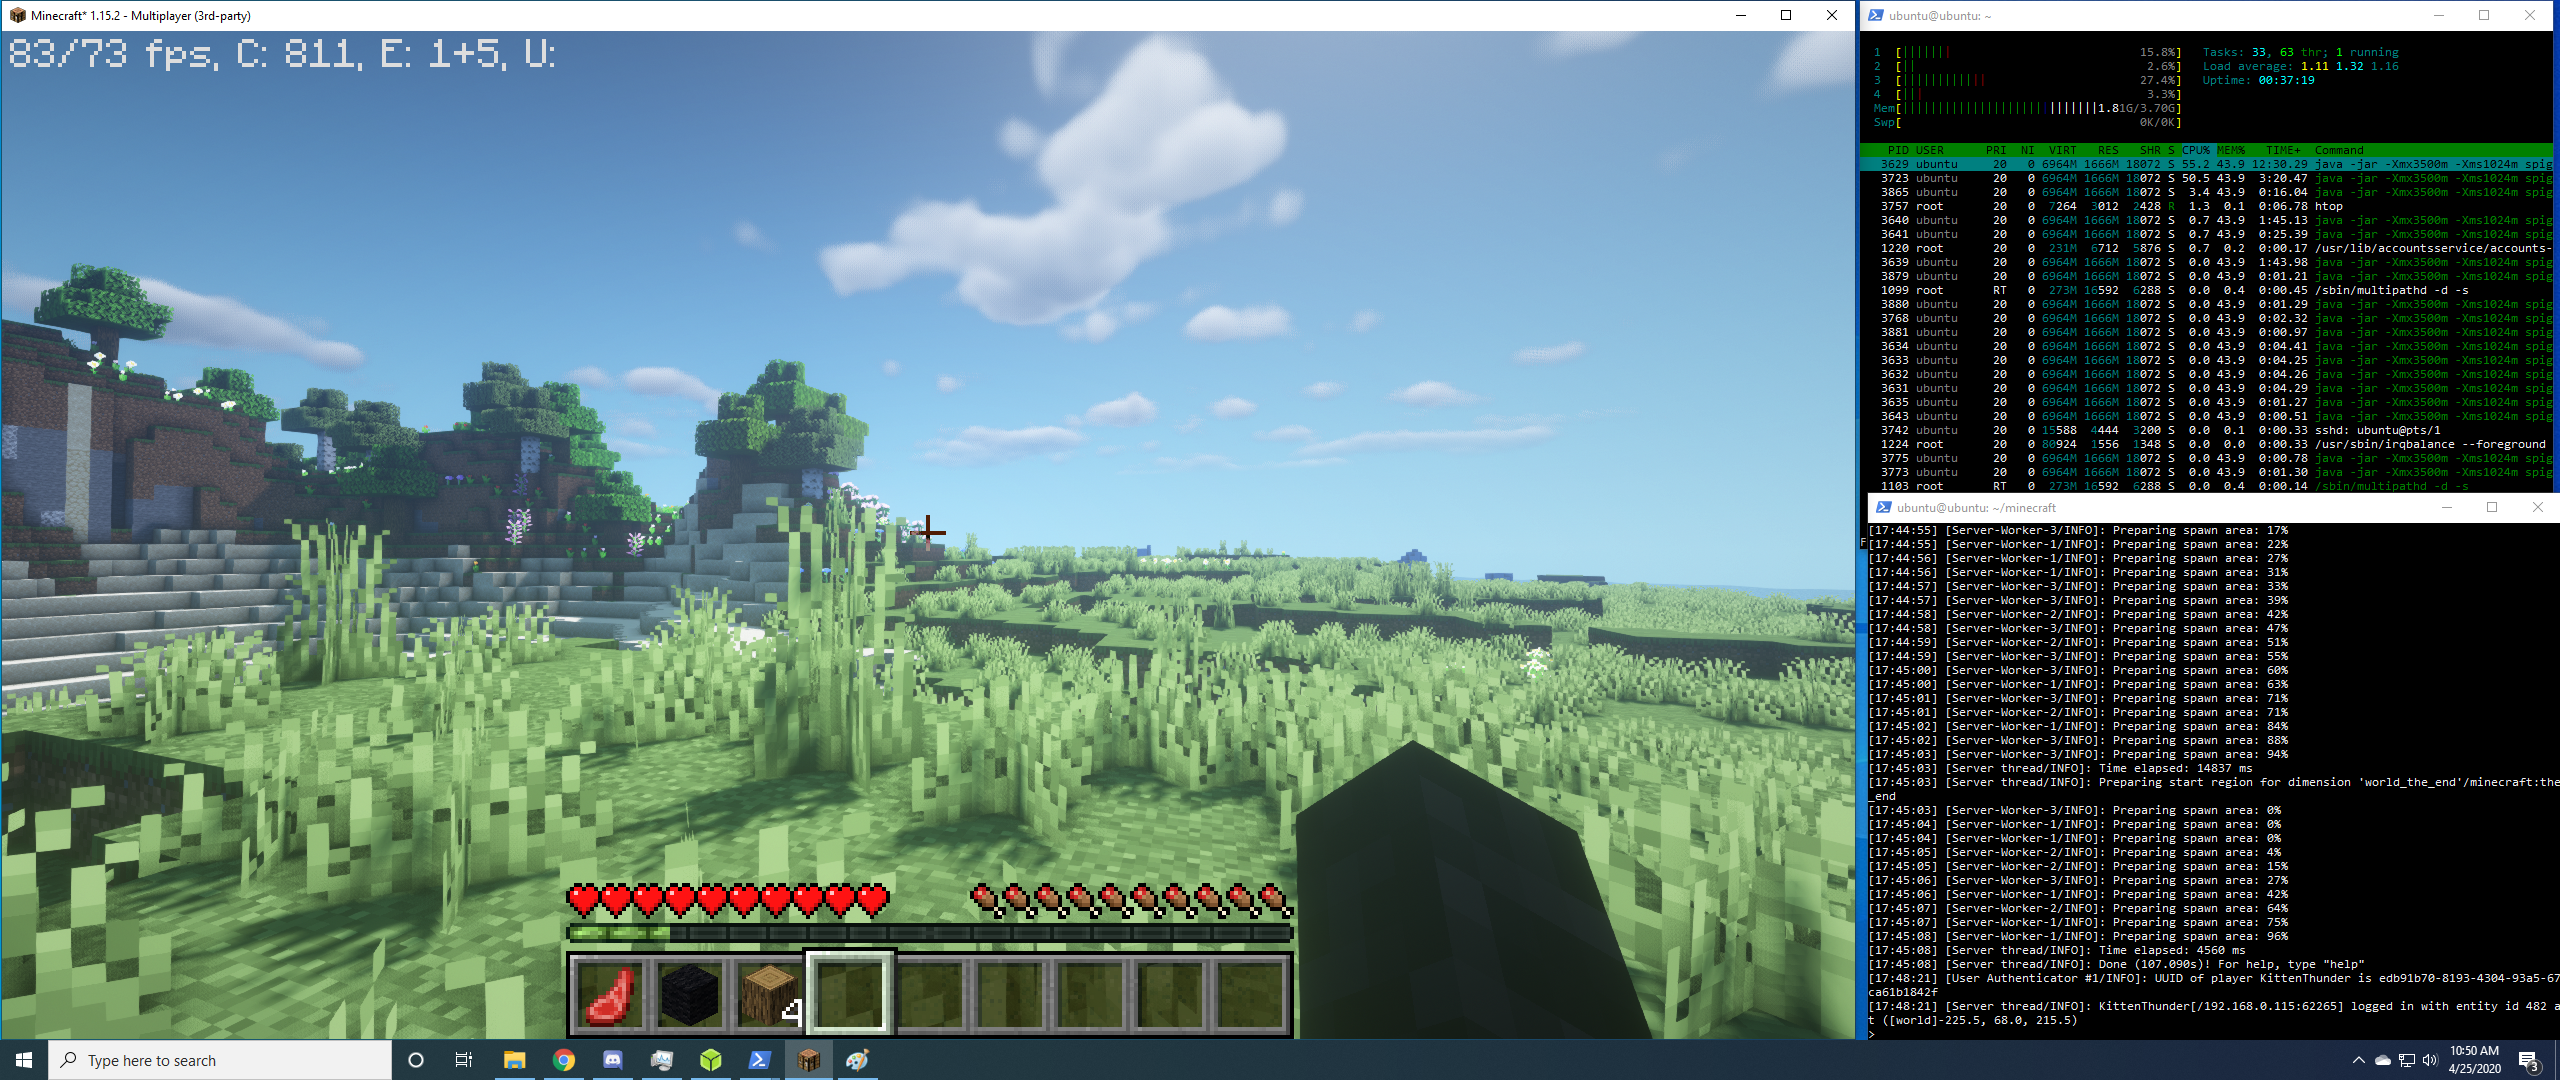
You can see in the screenshot above that we’re up and running, note the low cpu usage in the monitor window in the upper right. Usage spikes when a user first joins the server but settles down once all the chunks are loaded. The game is completely playable and we’re only using a small amount of ram about 1.8gb.
Well you’re done! That’s it in a nutshell. If you want to invite friends from outside of your house to your new server you’ll need to forward the default Minecraft Java port of 25565 at your home router. You’ll also need to then give your friend your home IP address which can be found by going to www.whatismyip.com. If you’re not sure how to port forward a quick Google search for your router + port forwarding should get you going.
What’s next? You could add in some cool low requirement plugins for your server like mcMMOwhich makes playing fun.
Helpful commands for your server:
OP yourminecraftname makes you server administrator
stop shuts the server down gracefully. To relaunch use the same commands we used previously.
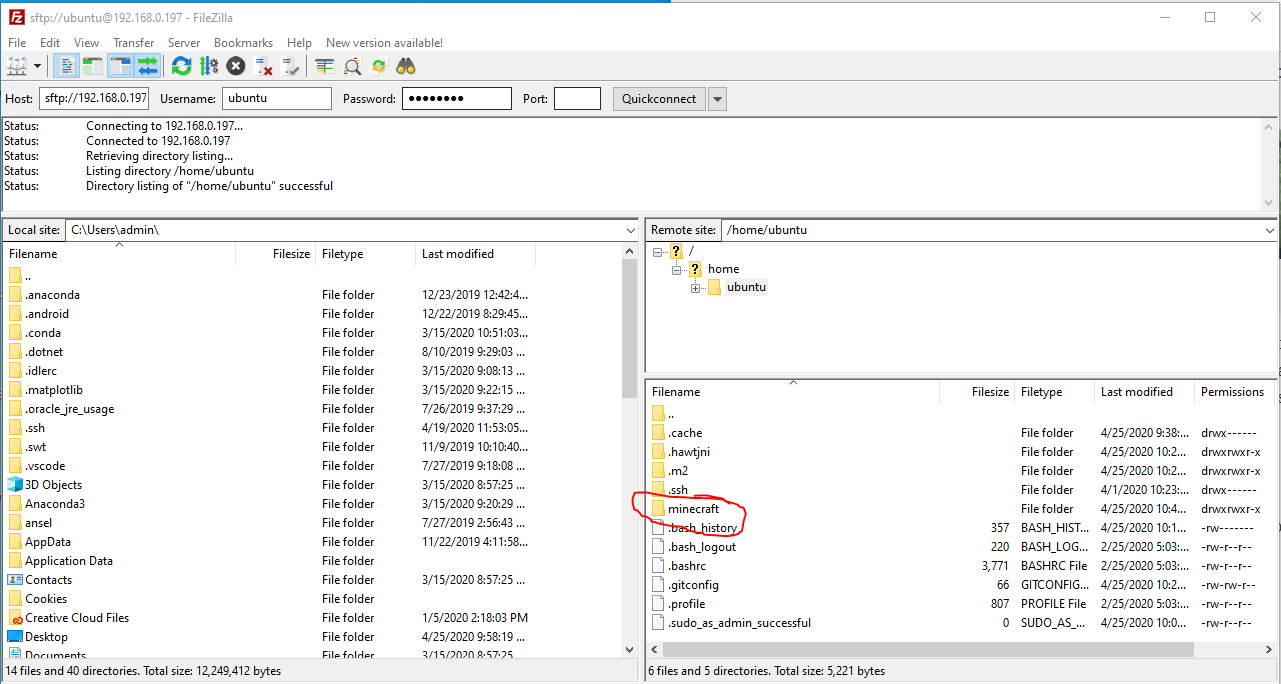
Adding files to your server- first stop the server, second launch your favorite FTP program and connect to you Pi via it’s IP address with your username and password, your port will be 22.
You can then drag and drop files from your pc directly into your Minecraft server folders, you can also use this FTP method to backup your server or download your server files and migrate it to any other host or a new server if necessary. This method is also helpful for editing your server.properties file to change game play to creative or change the server name and motto of the day settings.
There are other guides out there to setup a script so that the server launches at first boot that I won’t cover here but pull up your favorite search engine and get going!
One last thing! Utilizing the Chunkmaster plugin to help underpowered servers by pre-rendering chunks, this will really help performance on your Pi server!

Cool thanks
LikeLike
Which amount of user supported in a Pi4?? Im want to do a server for my friends.
LikeLike
Haven’t tested with more than two users. Based on that I don’t see why you couldn’t get a vanilla type world with four or so players especially if you pregenerate chunks.
LikeLike
Hola, para hacer este mismo servidor pero con forge como seria?
Gracias!
LikeLike
You would need to transfer all of the forge files via ssh into your Pi or use wget to download the server zip and unpack on your Pi. I don’t think the pic would make for a good forge server but something that we should test!
LikeLike
Ok lo voy a mirar, gracias!
LikeLike
Installed it this way, works great, besides the overclock im not sure if its applied or not but thanks!
LikeLike